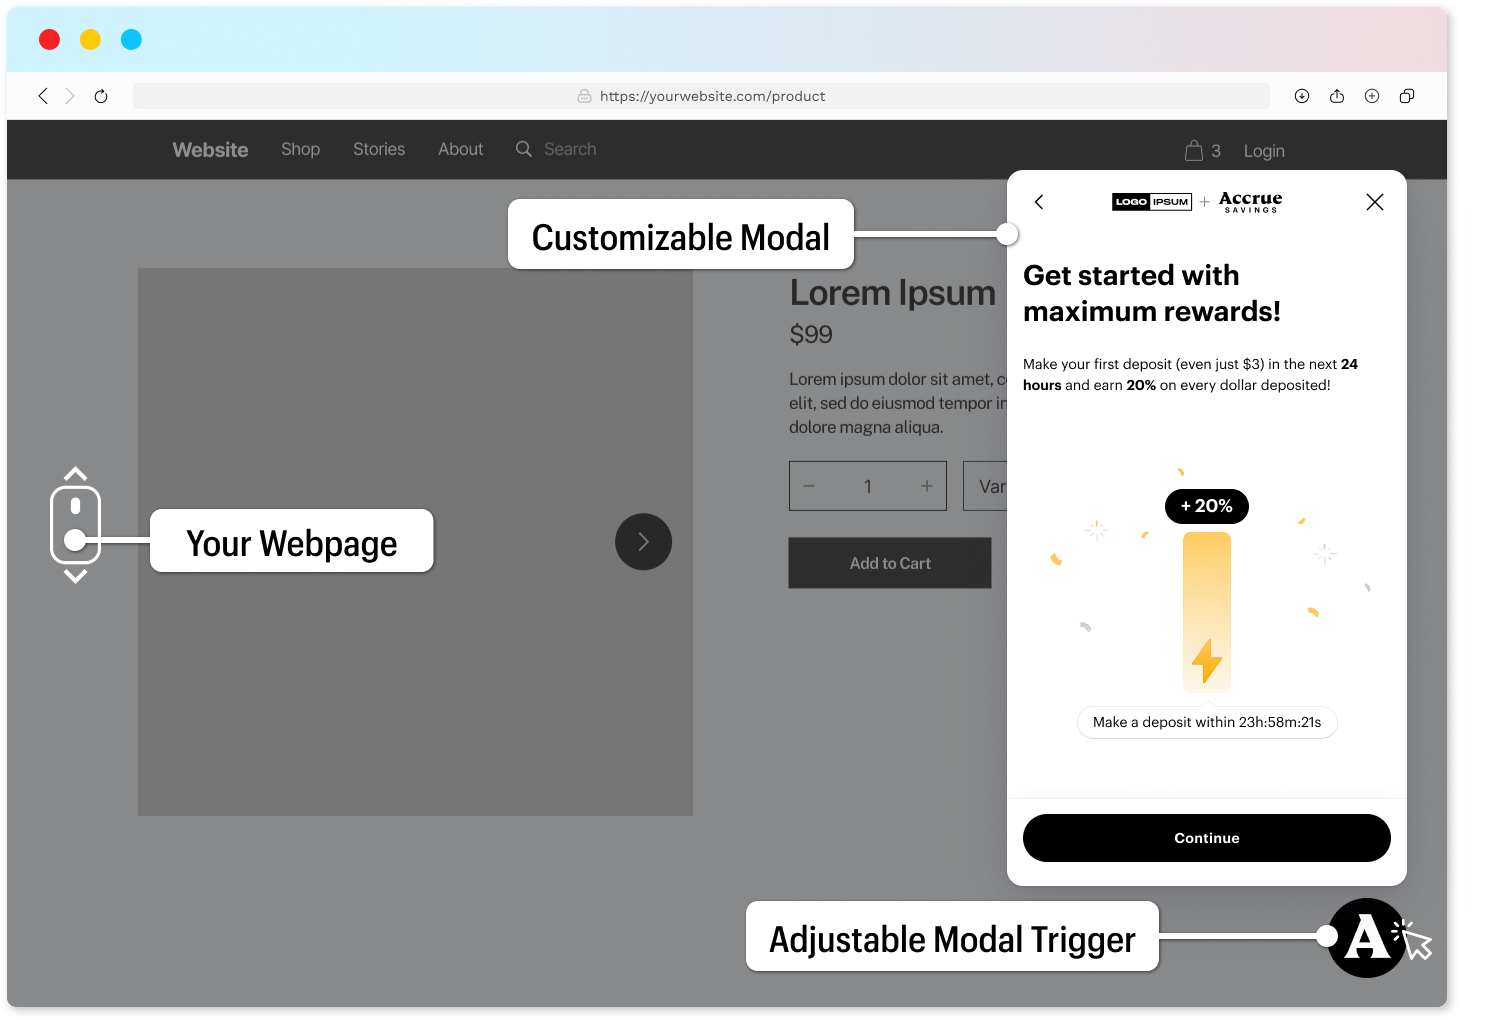
Web SDK
The Web SDK includes two components:
-
Wallet frontend - Only displayed following user action, this component is where users will manage their wallet over time and can be configured to match the look and feel of your brand
-
Trigger component - This component is embedded on specific merchant site pages, it opens the the wallet frontend upon click. The look and feel of this component can be configured independent from the wallet front end. In lieu of using this component, you can trigger the wallet frontend from an existing page element (text, image, etc).
Usage
You have the flexibility to integrate the Web SDK into your website using your preferred method for incorporating a JavaScript library. We offer detailed instructions for two commonly adopted alternatives frequently used by merchants.
Whether you have an SPA or a traditional website, our SDK ensures consistent functionality. Accrue's web SDK won't interfere with your scripts or affect page load times. Users will experience your website and application seamlessly, even with the SDK loaded.
For optimal performance, we suggest using the SDK directly. It is designed to seamlessly work on all websites, employing lazy loading. Accrue's web SDK is loaded through a CDN, ensuring fast and localized loading with cached content for an uninterrupted user experience on your website.
Alternatively, we endorse using Google Tag Manager to sandbox the Accrue Web SDK.
Direct usage
-
You will need your
Merchant IDthat was received from Accrue Savings. Accrue Merchant IDs are non-sensitive information and utilize a UUID format as this04dcb331-539e-448e-a7b1-8c50abdaee42. -
Load the SDK via a
scripthtml tag anywhere in the</head>tag pages where you want the SDK to be available. We recommend including it for all pages, since you can customize where the wallet frontend is available for your customers.
We cover customization below
<script
  data-script="accrue-savings-embed"
  defer
  src="https://embed[-sandbox].accruesavings.com/main.js"
  data-merchant-id="{your-merchant-id}"
></script>
NOTE: Use
deferwhen loading the SDK. The deferred loading and execution of the SDK will ensure no impacts on the user experience of your website.
Attach User Data
To associate the user that will sign in to the Accrue wallet you can pass your own user data. We'll store it, and allow lookups in our API using the provided values as filters.
<script>
document.addEventListener('AccrueEmbed::Ready', () => {
  window.accrueEmbed.onGetUserData(() => {
     // Your own user data to be attached to the user profile stored with Accrue
    return {
      referenceId: '123e4567-e89b-12d3-a456-426614174000',
      email: 'user@email.com',
      phoneNumber: '+1212559999',
    };
  });

  window.accrueEmbed.onSignIn((payload) => {
    // Once the user signs in you'll receive basic profile data that you can store and use for lookups
    console.log(payload);
    // {
    //   id: '497f6eca-6276-4993-bfeb-53cbbbba6f08',
    //   referenceId: '123e4567-e89b-12d3-a456-426614174000',
    //   isNewUser: true,
    // }
  });
});
</script>
Google Tag Manager usage
-
You will need your
Merchant IDthat was received from Accrue Savings. Accrue Merchant IDs are non-sensitive information and utilize a UUID format as this04dcb331-539e-448e-a7b1-8c50abdaee42. -
Go to the Google Tag Manager web app and select your desired account.
-
Create a new tag or modify an existing one.
-
Click on the tag configuration to select a tag type, and click
Custom HTML. -
Paste the embed snippet into the HTML section:
<script>
  window.accrueEmbedConfig = {
    merchantId: "{your-merchant-id}"
  };
</script>

<script
  data-script="accrue-savings-embed"
  defer
  src="https://embed[-sandbox].accruesavings.com/main.js">
</script>
- Save the tag, submit the workspace changes and publish them.
Verification
You will know the SDK is loaded when the default trigger element (blue circle with Accrue's logo) is visible in the bottom-right corner of the page. Clicking on the trigger will launch the wallet frontend.
See instructions to trigger customization
